In this article we connect an VL6180X device to an ESP32
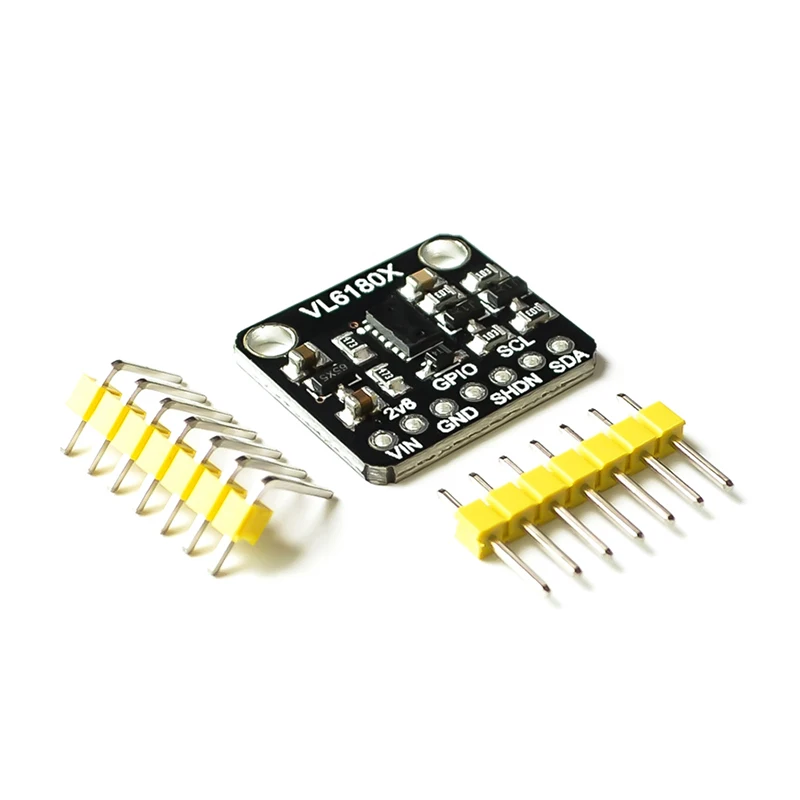
Lets look at the sensor
Sensor Information
First lets look at some information about the sensor from the manufacturer
The VL6180X is a ground-breaking technology allowing absolute distance to be measured independent of target reflectance.
Instead of estimating the distance by measuring the amount of light reflected back from the object (which is significantly influenced by color and surface), the VL6180X precisely measures the time the light takes to travel to the nearest object and reflect back to the sensor (Time-of-Flight).
Combining an IR emitter, a range sensor and an ambient light sensor, the VL6180X is easy to integrate and saves the end-product maker long and costly optical and mechanical design optimizations.
The module is designed for low power operation. Ranging and ALS measurements can be automatically performed at user defined intervals. Multiple threshold and interrupt schemes are supported to minimize host operations.
Host control and result reading is performed using an I2C interface. Optional additional functions, such as measurement ready and threshold interrupts, are provided by two programmable GPIO pins.
Key Features
- Three-in-one smart optical module
- Proximity sensor
- Ambient Light Sensor
- VCSEL light source
- Fast, accurate distance ranging
- Measures absolute range from 0 to above 10 cm (ranging beyond 10cm is dependent on conditions)
- Independent of object reflectance
- Ambient light rejection
- Cross-talk compensation for cover glass
- Gesture recognition
- Distance and signal level can be used by host system to implement gesture recognition
- Ambient light sensor
- High dynamic range
- Accurate/sensitive in ultra-low light
- Calibrated output value in lux
- Two programmable GPIO
- Window and thresholding functions for both ranging and ALS
This was my sensor of choice that I used
Parts Required
The sensor you can pick up in the $12 price range – you can connect to the sensor using a standard header the classic dupont style jumper wire.
| Name | Link | |
| ESP32 | 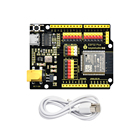 |
|
| VL6180X | ||
| Connecting cables | 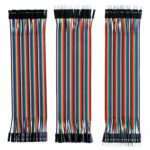 |
Schematic/Connection
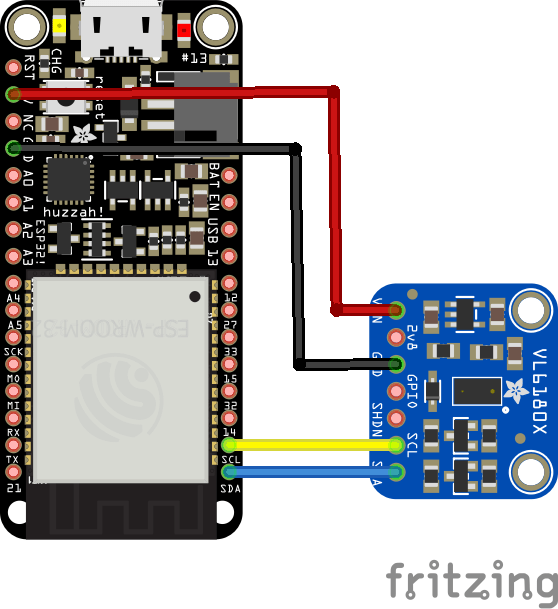
ESP32 and VL6180X layout
Code Example
This uses a library from Adafruit installed using the Library Manager in the Arduino IDE. search for VL6180X, and select the Adafruit_VL6180X library. You will also need to add another couple of libraries Adafruit BusIO library and the Adafruit Unified Sensor library
[codesyntax lang=”cpp”]
#include <Wire.h>
#include "Adafruit_VL6180X.h"

Adafruit_VL6180X vl = Adafruit_VL6180X();

void setup() {
  Serial.begin(115200);

  // wait for serial port to open on native usb devices
  while (!Serial) {
    delay(1);
  }

  Serial.println("Adafruit VL6180x test!");
  if (! vl.begin()) {
    Serial.println("Failed to find sensor");
    while (1);
  }
  Serial.println("Sensor found!");
}

void loop() {
  float lux = vl.readLux(VL6180X_ALS_GAIN_5);

  Serial.print("Lux: "); Serial.println(lux);

  uint8_t range = vl.readRange();
  uint8_t status = vl.readRangeStatus();

  if (status == VL6180X_ERROR_NONE) {
    Serial.print("Range: "); Serial.println(range);
  }

  // Some error occurred, print it out!

  if  ((status >= VL6180X_ERROR_SYSERR_1) && (status <= VL6180X_ERROR_SYSERR_5)) {
    Serial.println("System error");
  }
  else if (status == VL6180X_ERROR_ECEFAIL) {
    Serial.println("ECE failure");
  }
  else if (status == VL6180X_ERROR_NOCONVERGE) {
    Serial.println("No convergence");
  }
  else if (status == VL6180X_ERROR_RANGEIGNORE) {
    Serial.println("Ignoring range");
  }
  else if (status == VL6180X_ERROR_SNR) {
    Serial.println("Signal/Noise error");
  }
  else if (status == VL6180X_ERROR_RAWUFLOW) {
    Serial.println("Raw reading underflow");
  }
  else if (status == VL6180X_ERROR_RAWOFLOW) {
    Serial.println("Raw reading overflow");
  }
  else if (status == VL6180X_ERROR_RANGEUFLOW) {
    Serial.println("Range reading underflow");
  }
  else if (status == VL6180X_ERROR_RANGEOFLOW) {
    Serial.println("Range reading overflow");
  }
  delay(500);
}
[/codesyntax]
Output
Here is an example of what I saw in the serial monitor window
Lux: 0.00
Range: 43
Lux: 0.00
Range: 40
Lux: 0.00
Range: 43
Lux: 0.00
Range: 11
Lux: 0.00
Range: 12
Links
https://www.st.com/resource/en/datasheet/vl6180x.pdf