In this article we connect an HTU31 Humidity and Temperature Combination Sensor to an ESP32
Sensor Information
The HTU31 is one of the smallest and most accurate humidity sensors on the market. TE Connectivity precision engineering and 20+ years of experience in humidity and temperature combination sensors, enabled this new product with fast response time, precision measurement, low hysteresis, robustness to reflow assembly process and sustained performance even when exposed to extreme temperature [-40° to 125°C] and humidity [0%RH to 100%RH] environments.
HTU31 humidity & temperature sensor includes both digital (D) and analog (V) versions and combines multiple functions with an application-friendly operating supply voltage range from 3V to 5.5V
Product Type Features
Humidity Sensor Component Product Type RHT
Humidity Sensor Component Sensor Type Digital
Electrical Characteristics
Supply Voltage (Peak) (V) – 6v maximum
Current Consumption (mA) .76, .77, .78
Usage Conditions
Humidity Operating Range (%RH) – Humidity measurement range is 0 to 100% relative humidity
Operating Temperature Range (°C) – Temperature measurement range is -40 -degrees C to +125-degrees C
Operating Temperature Range (°F) -40 – 257, -40 – 258, -40 – 259
Parts Required
The sensor you can pick up in the $3 price range – you can connect to the sensor using a standard header the classic dupont style jumper wire.
| Name | Link | |
| ESP32 | 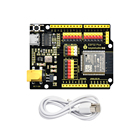 |
|
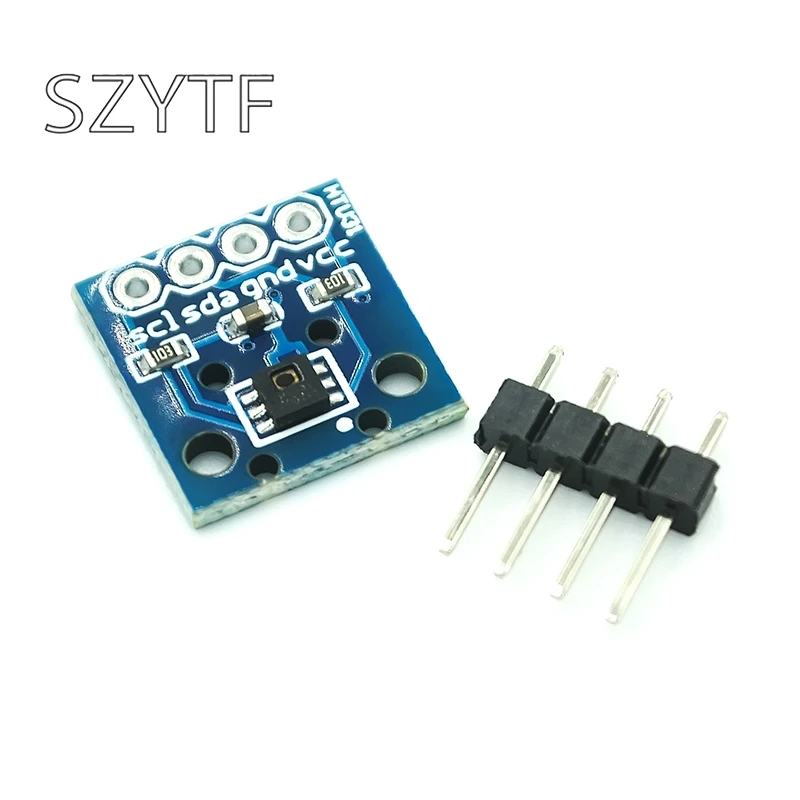
| HTU31D | ||
| Connecting cables |  |
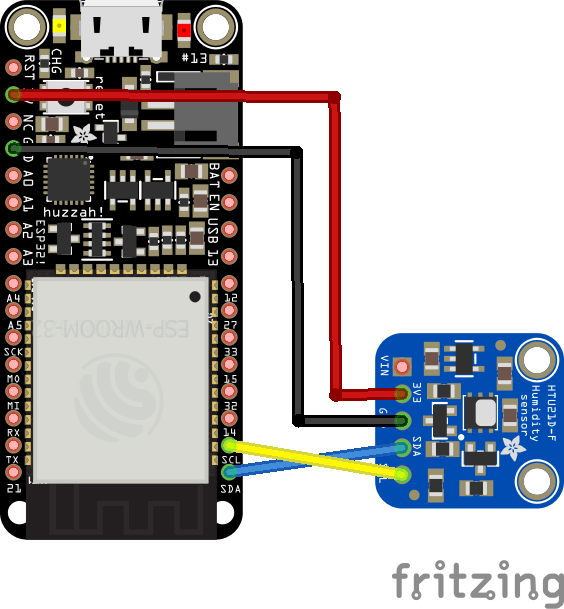
Schematic/Connection
Code Example
This uses a library from Adafruit installed using the Library Manager in the Arduino IDE. search for HTU31, and select the Adafruit_HTU31D library. You will also need to add another couple of libraries Adafruit BusIO library and the Adafruit Unified Sensor library
[codesyntax lang=”cpp”]
#include <Wire.h>
#include "Adafruit_HTU31D.h"

Adafruit_HTU31D htu = Adafruit_HTU31D();
uint32_t timestamp;
bool heaterEnabled = false;

void setup() {
  Serial.begin(115200);
  while (!Serial) {
    delay(10); // wait till serial port opens
  }
  Serial.println("Adafruit HTU31D test");

  if (!htu.begin(0x40)) {
    Serial.println("Couldn't find sensor!");
    while (1);
  }
  timestamp = millis();
}

void loop() {
  sensors_event_t humidity, temp;

  htu.getEvent(&humidity, &temp);// populate temp and humidity objects with fresh data

  Serial.print("Temp: ");
  Serial.print(temp.temperature);
  Serial.println(" C");

  Serial.print("Humidity: ");
  Serial.print(humidity.relative_humidity);
  Serial.println(" \% RH");

  // every 5 seconds
  if ((millis() - timestamp) > 5000) {
    // toggle the heater
    heaterEnabled = !heaterEnabled;
    if (heaterEnabled) {
      Serial.println("Turning on heater");
    } else {
      Serial.println("Turning off heater");
    }
    if (! htu.enableHeater(heaterEnabled)) {
      Serial.println("Command failed");
    }

    timestamp = millis();
  }

  delay(500);
}
[/codesyntax]
Output
Here is an example of what I saw in the serial monitor window
Links